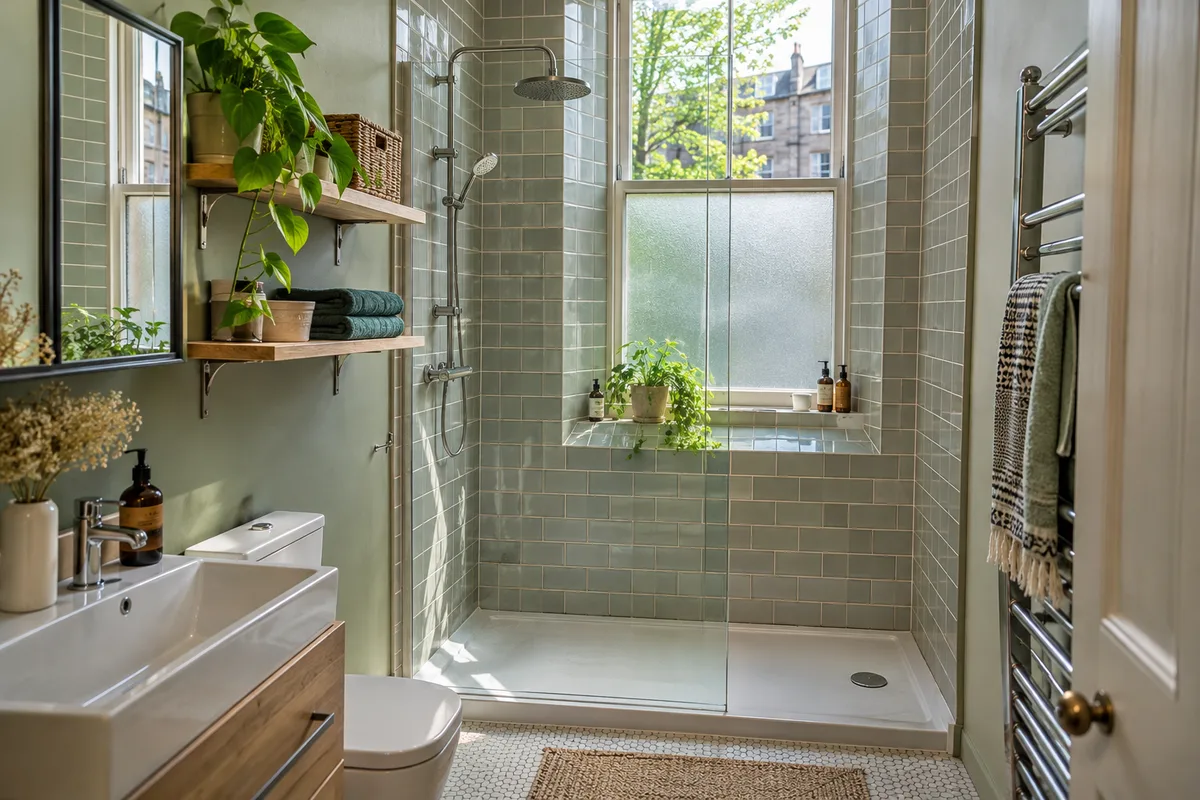
In many tenement flats, the only place for a shower is under the window. It can work well, but a timber sash window and a daily soaking do not mix unless you plan for it. This guide explains what the water does and how to protect the window, the sill and the walls around it.
Why the shower often ends up at the window
Tenement bathrooms are often long and narrow, with a window at one end. The bath sits along the wall, and when it is replaced by a shower, the same end is the natural place for the shower. The plumbing is already there, and it leaves the door end free for the toilet and basin.
Our guide to walk-in shower ideas for a small bathroom covers the other layouts. There is also a good reason to choose this one. A window gives daylight and a way to air the room. Putting the shower there keeps the walkway clear. If you are planning a replacement, see our guide to bath to shower conversion in a tenement. It is a common layout, but it asks more of the window than any other spot in the room.
What water does to a timber sash
Timber and water do not stay friends. Steam and splashes soak into the paint, and once it cracks, water gets into the wood. The result is peeling paint, swollen frames and sash cords that stick. A sash that will not move is a nuisance, and a rotten sill is an expensive repair.
Condensation is the bigger daily problem. Glass is the coldest surface in the room, so steam turns to water on it and runs down onto the sill. If the sill is bare timber, it soaks that water up every day. Check the paint now. If it is flaking or the wood feels soft, deal with that before any new shower goes in. Our guide to damp and mould in a small bathroom explains how to tell condensation from a leak.
Raise the sill line with a tiled or panelled reveal
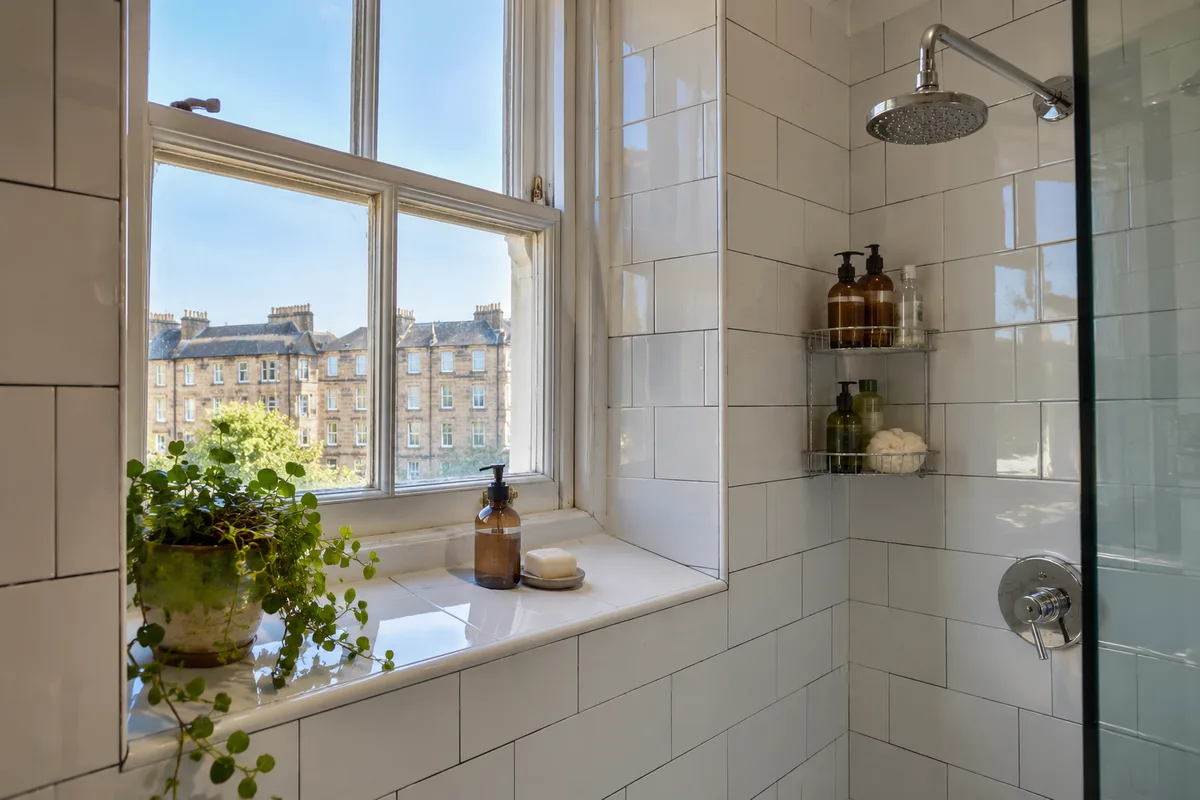
The best protection is to tile or panel the window reveal. That means the sides, the top and the sill inside the shower area are covered with a waterproof finish. The sill should slope slightly towards the room, so that water runs off instead of sitting on it. Porcelain and sealed stone are good choices, and so are proper bathroom wall panels.
The joins matter more than the tile. Use a flexible sealant where the frame meets the tiles, and keep it fresh. Paint the timber above the splash zone with a good bathroom paint. Done well, the shower can sit under the window for years. Our walk-in shower installation page shows how we think about the wet area as a whole.
Glass, screens and privacy film
You will want privacy, because the window may face a back court or a neighbour. Frosted glass in the lower sash gives privacy and lets daylight in. Where the glass is old, a privacy film is a cheaper option, though it should be applied to the inside and kept away from the timber edges. Blinds near a shower get damp, so choose a waterproof type or avoid them.
A fixed glass panel beside the shower keeps water off the floor and gives you a clean look. It also gives some protection to the window, because it catches spray before it reaches the glass. If the window is a listed or protected one, check what you may change before you alter the glazing. Our guide to small bathroom shower enclosures compares the door types.
Shower head position and spray direction
Spray direction is the cheapest protection you have. Put the shower head on the opposite wall, or on the side wall, so that the water points away from the window. Then the window is hit only by steam and stray splashes, not by a direct jet.
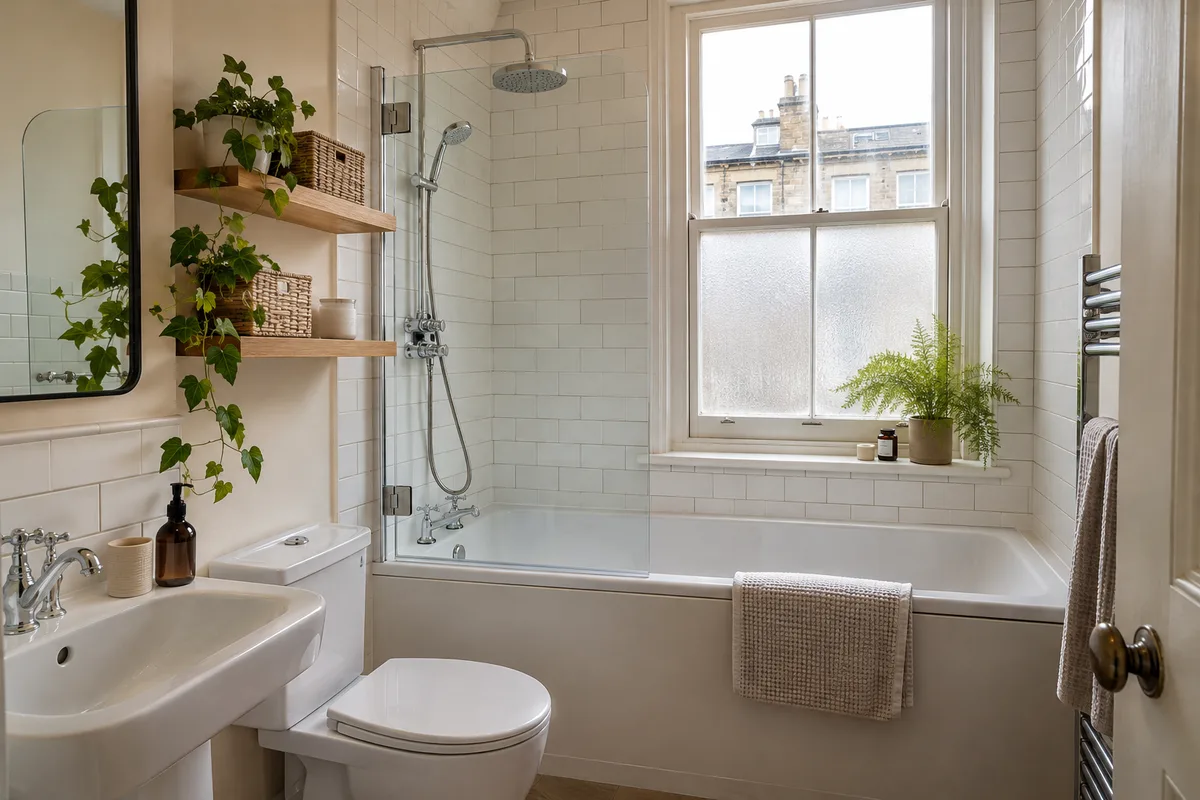
Choose a fixed head at a sensible height and a handset on a rail, and aim the handset away from the glass as a habit. A fixed head directly beneath a window will hit the sill every time. A good enclosure keeps most of the water inside. If you have a bath with a shower over it, a hinged glass bath screen can do the same job. Water pressure also affects the spray, so see our guide to shower water pressure in a tenement.
Ventilation when the window stays shut in winter
In winter, most people shut the window and leave the steam in. That makes the problem worse. If you rely on opening the window, you need something else in the cold months. A quiet extractor fan sized for the room clears the steam and protects the window, the paint and the ceiling.
Where the bathroom has no outside wall, getting the air out is harder, but there are ways. Read our guide to a bathroom extractor fan with no outside wall. Leave the fan on for a while after the shower, and wipe the glass and sill when you finish. It takes seconds and saves the paint.
Window repairs, replacements and permissions
If the sash is already tired, now is the time to fix it. A joiner can repair rot, replace sections of timber, renew sash cords and reseal the frame. Draught proofing may also help, though you should keep some ventilation. A repair is nearly always cheaper than a new window and keeps the original look.
Windows in tenements raise other questions. The outside of the window may be a shared part of the building, and flats in a conservation area or a listed building are often limited in what they can change. Check before you replace anything, and see our guide to tenement bathroom renovation permissions. For help planning a shower under a sash window, call us or ask for a free quote.
Guidance reviewed 14 November 2026. Technical and permission requirements depend on the property and proposed work; relevant guidance is linked in the article.