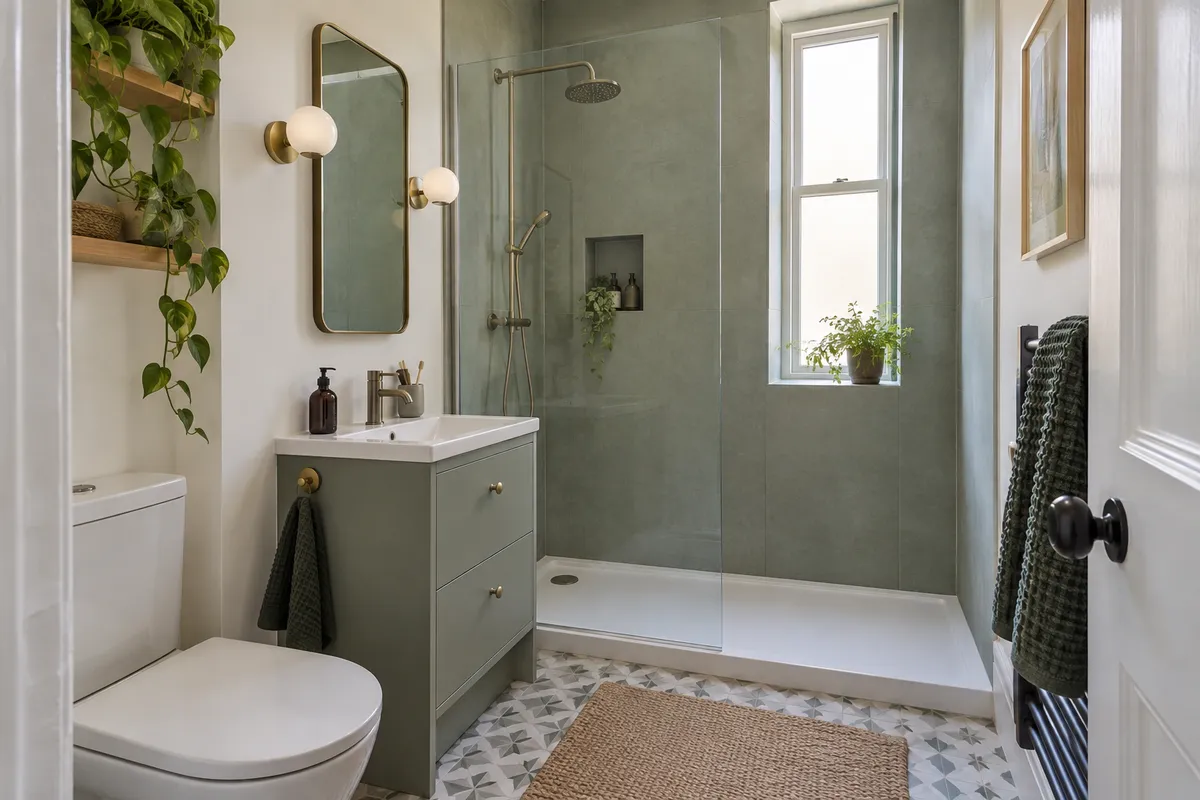
A bath to shower conversion can make a Scottish tenement bathroom better suited to everyday use, particularly when the bath is rarely used. The work involves more than exchanging one fitting for another: the waste, water supply, wall finishes, floor and entrance all need a coordinated plan. A long shower tray may use much of the old bath footprint, but that does not mean the existing connections or finishes can remain untouched. This guide explains the decisions behind a conversion so you can discuss a clear specification and compare complete quotations.
Decide what the conversion must improve
Start with the reason for removing the bath. You may want a larger showering area, an easier entrance or more useful storage. Describe the practical difficulty rather than simply asking for a walk-in shower. Someone who struggles with a high bath side may also need the controls positioned differently, a particular screen arrangement or space for assistance.
If others use the bathroom, include their routines in the decision. A bath can still matter for family life, and removing it is not automatically the best choice for every household. Our bath versus walk-in shower guide helps weigh those everyday preferences before you plan the installation itself.
Measure the space left by the bath
Measure the entire alcove, including any tapering walls and pipe boxing. The nominal bath length does not establish the exact size of tray that will fit after removal. Check the doorway, window and position of the basin, then allow for the chosen screen and its opening movement. A shower needs useful standing and drying space as well as a base that fits.
Ask whether the proposed entrance will be low, raised or level with the bathroom floor. These are different outcomes. A tray may need a particular support arrangement to accommodate the waste, and the finished height should be explained before ordering. Do not rely on a product photograph taken in a room with a different floor construction.
Check the waste and water supply
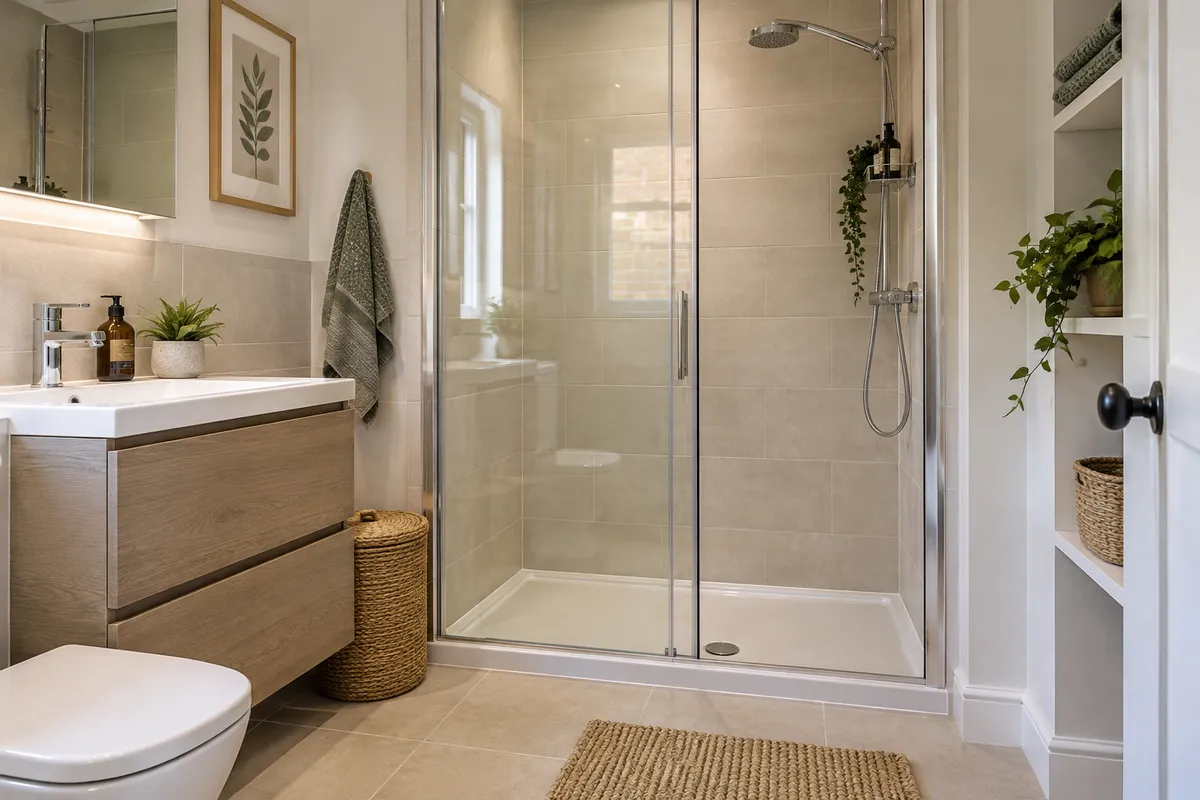
The existing bath waste position may not suit the new shower tray. An installer needs to assess the route, connection and maintenance access, along with the chosen shower's output. The convenient end of the room for a screen is not always the convenient end for drainage. Resolve both together while the layout is still flexible.
A new shower must also suit the property's hot and cold water arrangements. Replacing an old shower with a larger head does not create additional flow. Our shower water pressure guide explains the questions to raise at the survey. Electrical or supply changes should be included in the scope where the chosen shower requires them.
Allow for walls and flooring to change
When the bath is removed, the walls behind it may be unfinished or show old damage. Existing tiles can stop at the bath edge, and the floor underneath may differ from the visible bathroom floor. Ask how these areas will be prepared and finished rather than assuming that the new tray will conceal every gap.
The shower enclosure needs an appropriate waterproofing and wall-finish specification. Panels and tiles offer different appearances and joint details; compare the complete system, including corners and the tray junction. If the new shower is shorter than the bath, decide what happens to the remaining space. A useful cupboard or dry shelf needs a deliberate design rather than a narrow leftover gap.
Choose the entrance, screen and controls
Compare screen options using the actual plan. A fixed screen may give an open entrance but allow spray beyond it; a sliding or hinged enclosure changes both containment and access. Check whether the door conflicts with the basin, radiator or toilet and whether you can clean both sides of the glass without awkward reaching.
Position controls where the intended users can operate them comfortably. Explain any mobility needs at the start so the design can respond to them; a low tray alone does not make a room suitable for every person. Where support fittings or seating are proposed, their location and fixing requirements need professional assessment. Avoid adding them after the wall finish has been chosen without that discussion.
Agree the work and bathroom downtime
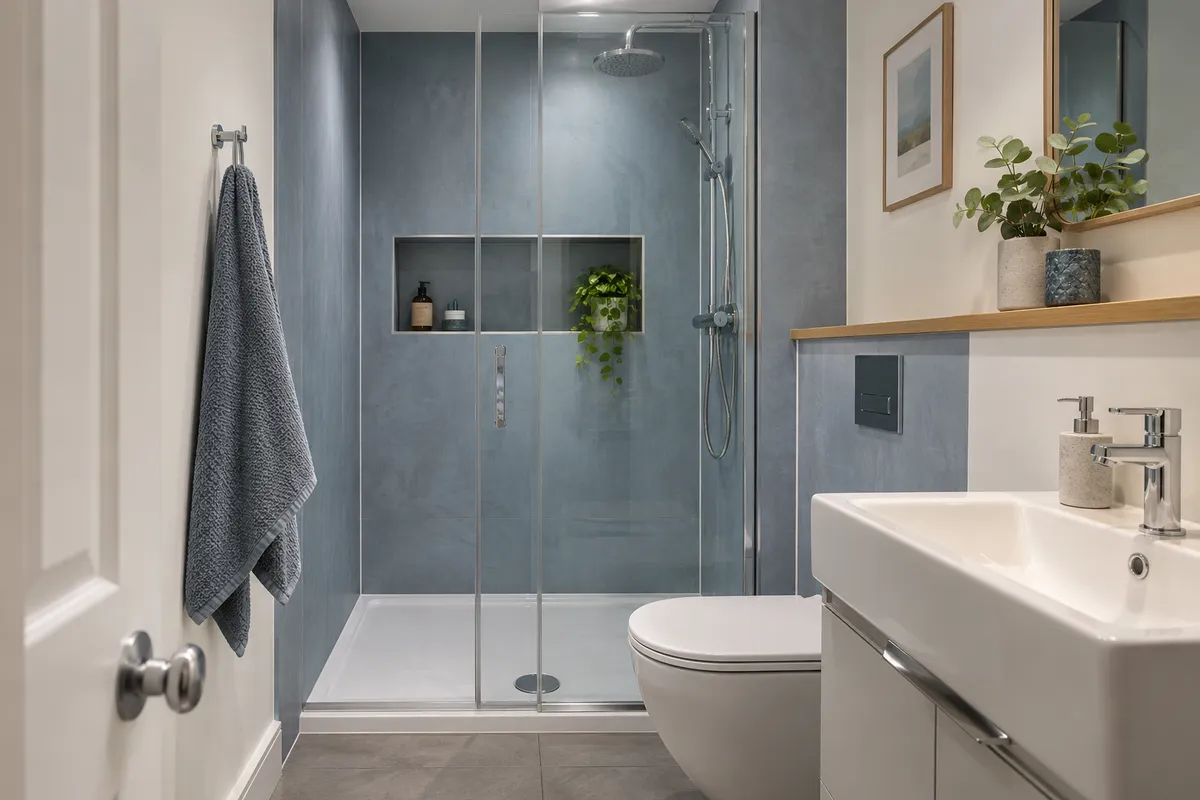
Ask for the conversion sequence: removal, inspection, preparation, service changes, tray and wall installation, sealing and final checks. Product drying and curing requirements affect when the shower can be used. A neat-looking surface is not evidence that it is ready for water, and the agreed handover instructions should make the first-use date clear.
If this is your only bathroom, establish what will happen to the toilet, basin and water supply during the work. Do not assume they will remain available at every stage. The only-bathroom renovation guide helps plan practical washing arrangements and household access before installation begins.
Compare your conversion quotation
A complete quotation should identify removal, waste disposal, preparation, plumbing, any electrical work, tray, screen, shower, waterproofing and making good. Check allowances for concealed damage and the process for agreeing changes. If two prices differ, compare those items and the actual product models before deciding that one represents a better offer.
Explore our walk-in showers for Scottish tenement bathrooms to discuss the room you have and the access you want. Photographs, approximate dimensions and your postcode are useful starting points. A successful conversion gives you a shower that fits the building and your routine, with the work beneath the finish explained as clearly as the visible fittings.
Guidance reviewed 7 October 2026. Technical and permission requirements depend on the property and proposed work; relevant guidance is linked in the article.