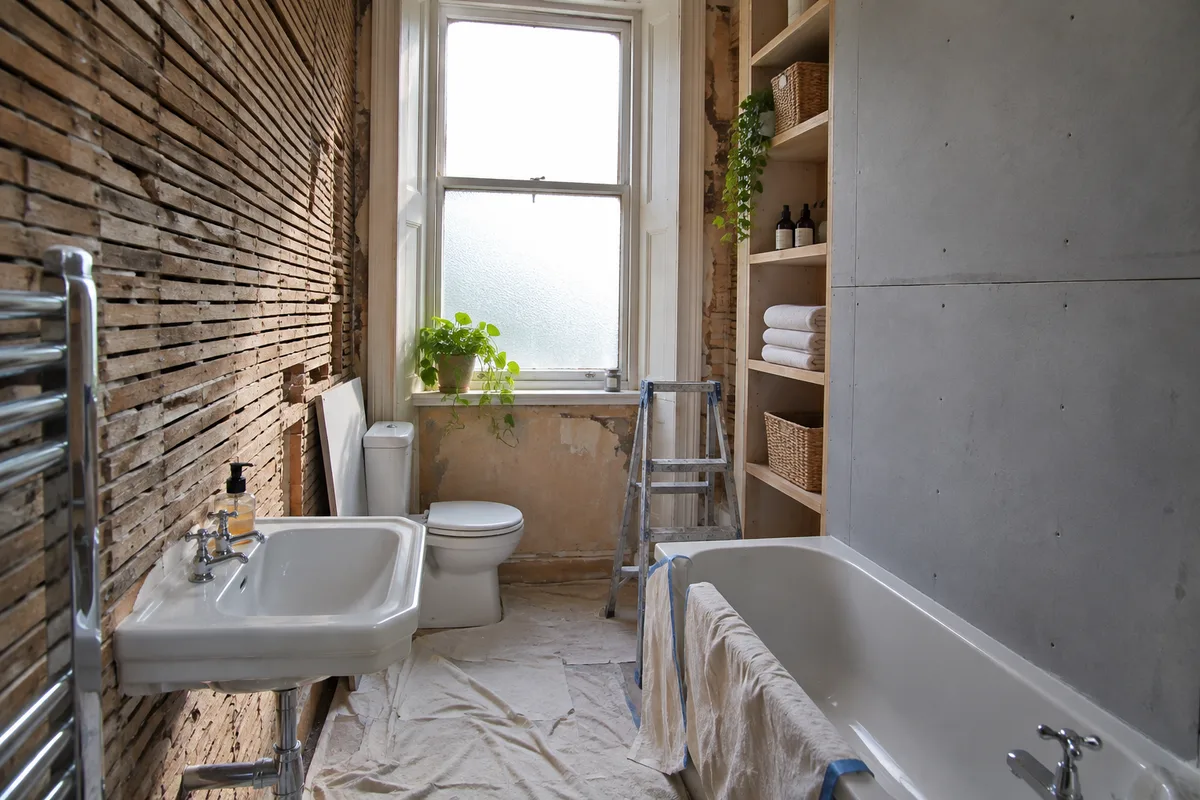
Lath and plaster bathroom walls are common in older tenement flats, and they decide how the rest of the job is done. Some can be kept, some should be boarded over and some are best stripped to the bare laths or stone. Here is how we work out which is which, and what each choice means for tiles, fixings and the final finish.
How to tell what your bathroom walls are made of
Tap the wall with your knuckle. A hollow, slightly springy sound usually means plaster on timber laths. A dull, solid sound points to plaster on stone or brick, often called a hard wall. A flat, drummy sound with a modern feel can mean plasterboard, which is common where a bathroom has been altered.
Look at the edges as well. Near the window or an old pipe hole you can often see thin timber strips with plaster pushed between them. Those are laths. If you cannot tell, do not drill test holes in the shower area. We can check when we survey.
Most tenement bathrooms are a mix. One wall can be stone, the next a thin timber partition built later to make room for the bathroom. Knowing which wall is which saves guesswork when we plan tiling and fittings. Our tenement bathroom renovation page explains how we survey an older flat before quoting.
Why wet areas need more than old plaster
Old plaster was never designed to sit behind a modern shower. Lime plaster soaks up water and swells. Gypsum finishes soften and crumble when they stay damp. Tiles stuck straight onto either one will eventually crack, fall away or hide a slow leak.
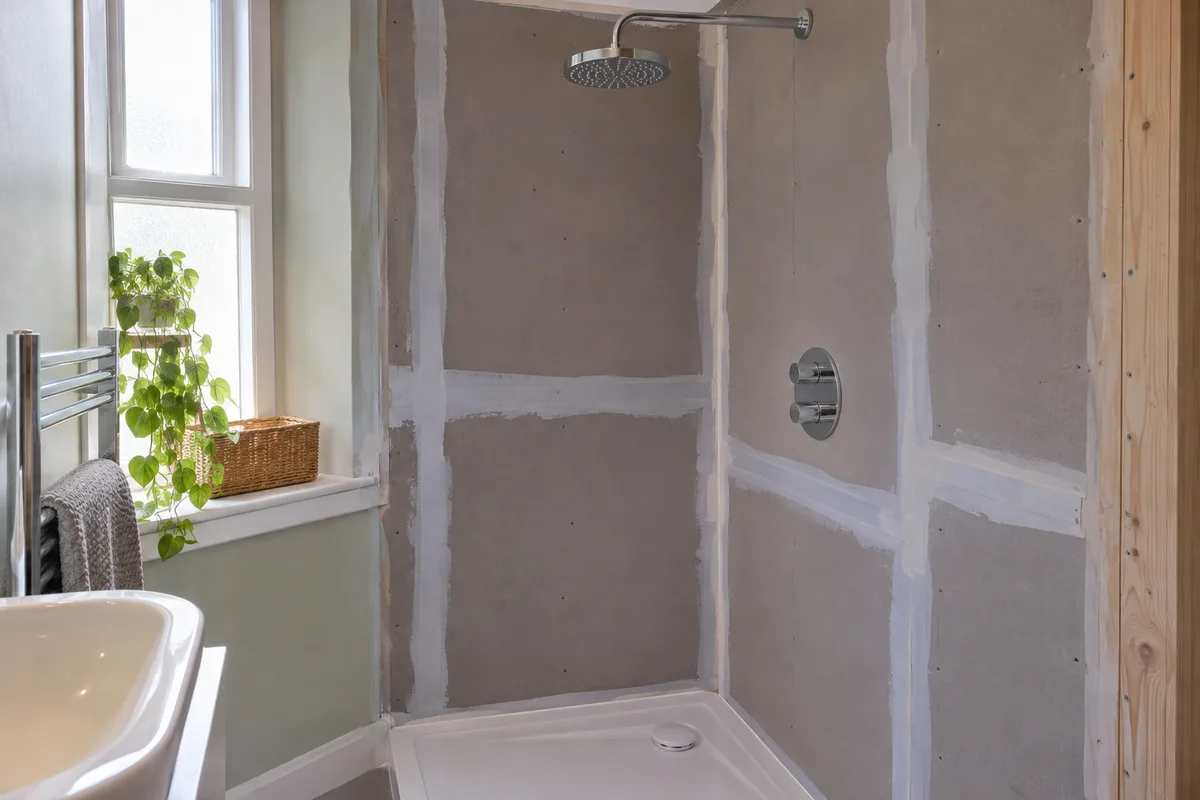
In the shower and around the bath, the wall needs a waterproof backing. That usually means a cement-based or foam-cored tile backer board, taped at the joints and sealed in the corners. The board does the work of keeping water out of the wall, and the tiles are only the finish. Outside the splash zone, a sound plastered wall that has been sealed and painted with a bathroom paint is often fine.
This is the main reason we look at walls before choosing a finish. A waterproof board over a bad wall is still a bad wall, so the wall behind has to be sound. For a comparison of finishes, see our guide on wall panels or tiles in a tenement bathroom.
Stripping back to the laths or the stone
Stripping means removing the old plaster back to the laths or to the masonry. It makes a lot of dust, so the room is sealed off and the dust is bagged as we go. It is the right choice when the plaster is damp, crumbling or hollow across large areas, or when we need to get at pipes and wiring.
On a lath wall, stripping lets us check the timber. Sound laths can be boarded straight over. Rotten or loose laths come out and the frame behind is repaired. On a stone wall, stripping shows whether the stone is dry. Damp stone needs the cause found before anything is fixed to it.
Stripping also gives a flat start. We can fix battens, run pipes and put in solid noggins for heavy fittings before any new board goes up. It takes longer than boarding over, but it avoids building on weak plaster.
Boarding over sound plaster
If the plaster is firm, dry and well stuck, boarding over it can work well. We fix a waterproof board through the plaster into the laths or the masonry behind, then tape and seal the joints. This keeps the dust down and saves time.
The catch is thickness. A new board adds a few millimetres to every wall. In a narrow room that can matter around the door, window reveal and the bath or tray. We measure with that in mind so the shower and toilet still fit.
Plaster that sounds hollow, flakes under a scraper or sits behind a damp stain should not be boarded over. We would rather open it up and see what is behind. If you are unsure, our guide to boxing in pipes in a tenement bathroom shows how we deal with pipework once the walls are open.
Fixing heavy basins, cabinets and rails
Lath and plaster cannot hold weight on its own. A screw into plaster pulls out under load, and a screw into a lath can split it. A wall-hung basin, a mirror cabinet or a grab rail needs a solid fixing behind the finish.
When the walls are open we fit timber noggins or a metal plate between the studs or fixed to the masonry, and mark their position. Then the board and tiles go over the top, and the fittings are screwed into solid material. For stone walls we use proper masonry plugs, not wall plugs designed for plasterboard.
Decide on the cabinet and basin before the wall is closed up. We cover choices for storage in small bathroom storage cabinets, including how to hang them on older walls.
Cracks, bulges and hollow patches
Fine hairline cracks in old plaster are normal, especially near corners and where a wall meets the ceiling. They can usually be filled and painted.
Bulges and hollow patches are different. They mean the plaster has come away from the laths, often because the nibs that hold it on have broken. Press gently around the patch. If it moves or sounds drummy, it needs to come off, or be fixed back with plaster screws and washers and then re-skimmed.
Brown or damp patches, flaking paint and a musty smell mean water. Find the source before any finish goes on. A leaking pipe, a failed seal around a tray or a damp outside wall all need dealing with first. Our article on damp and mould in a small bathroom covers the checks.
What to expect when the walls are opened
Once old plaster comes off, we may find things that nobody could see. Old pipework, unused cables, patched timber and uneven stone are all normal in tenement flats. A good plan includes room for these.
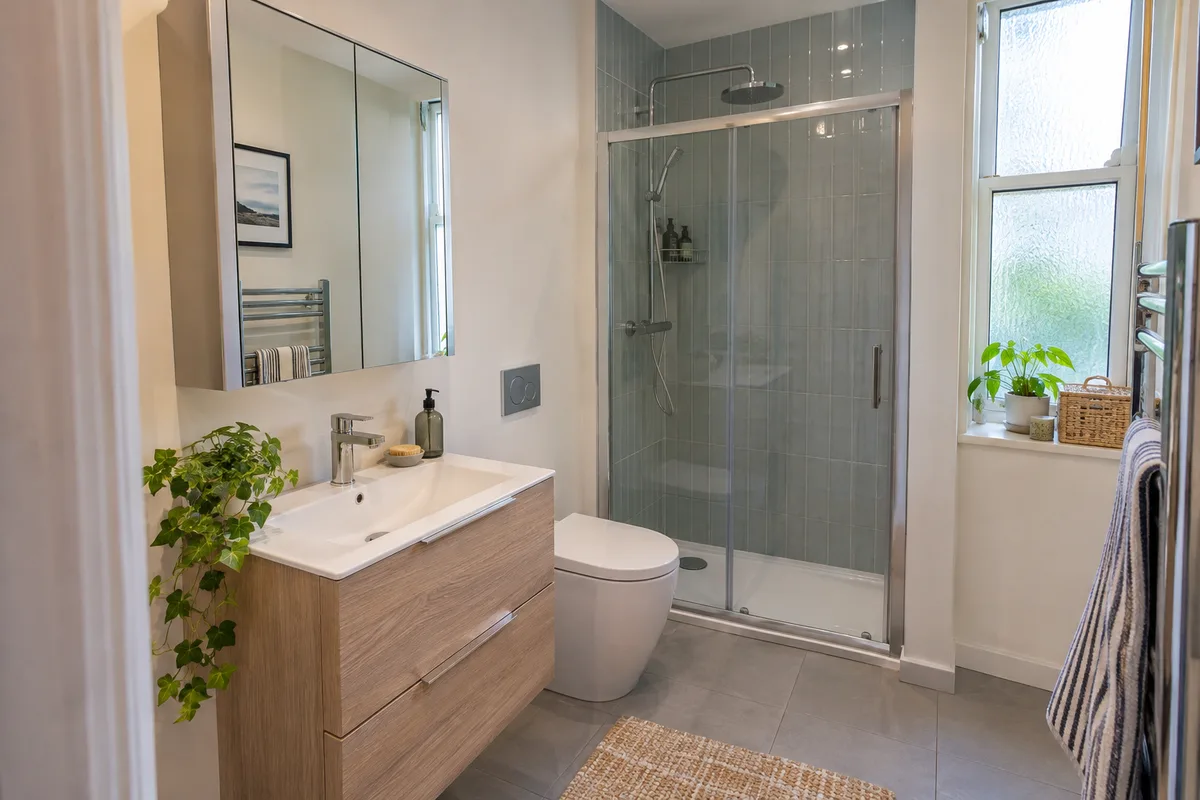
We tell you what we find, show you where we can, and agree any change before carrying on. Most walls need repair, not replacement, and most surprises are small. The finished wall is flat, dry, waterproof where it counts and ready for tiles or panels.
If you want us to look at your walls, call us or ask for a free quote.
Guidance reviewed 14 November 2026. Technical and permission requirements depend on the property and proposed work; relevant guidance is linked in the article.